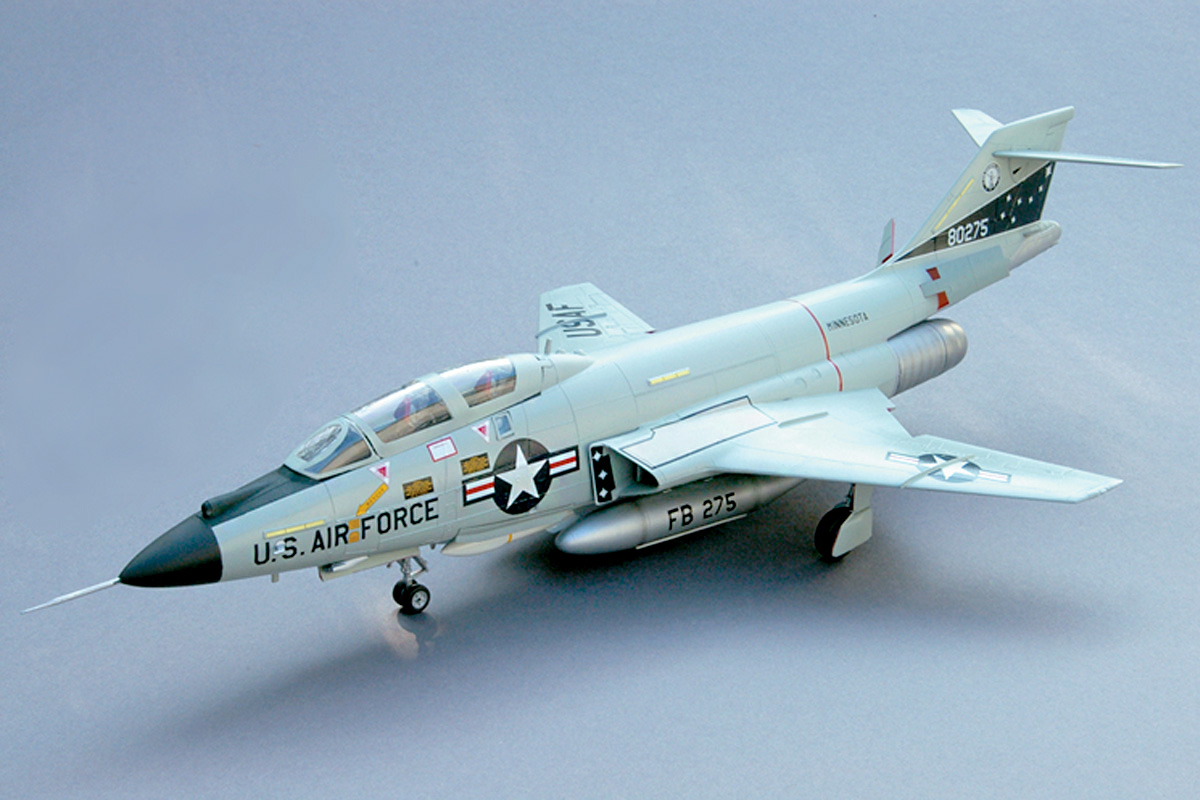
Revell’s 1/48th scale, mid-’80s release of the F-101B is one of the only models of the Voodoo on the market today. Despite its age, the kit builds into an accurate replica that reflects the imposing size of the actual aircraft.
Construction starts by inserting the two fuel vents into slots on each side of the tail. This is followed by some tricky maneuvering of the main wheel door/air brake pieces into the wing underside.
Next paint the turbine faces of the Pratt & Whitney J-57 engines silver. Glue the jet intake tunnels together and attach the turbines to the backside of the trunking. Cement the completed intake assembly into the bottom section of the wings and set it aside.
The cockpit interior, seat frames and instrument panels are painted light sea gray (FS-36307). The front and rear cockpit side consoles along with the hoods over the instrument panels are brushed with aircraft interior black (FS-37031). There are decals for the instrument faces for both the front and rear panels. The ejection seat frames are the same gray as the cockpit, with tan or olive drab seat cushions and red headrests.
A now out-of-production version of this kit was the two-seat photoreconnaissance RF-101B. The only exterior difference between the two versions is the nose, which Revell has substituted with a bullet-shaped radome that allows the building of the interceptor. This alternate molding should be carefully aligned and glued to the each fuselage part before the two main sections are joined together. This departure from the instructions will later save a large amount of filling and sanding. The new nose also provides a convenient pocket to hold enough weight (BBs or fishing sinkers) to keep the model from becoming a “tail sitter.”
Glue the completed cockpit and nose gear well into one of the fuselage sides. Attach the top and bottom pieces of the missile armament door together and trap it in the locating holes in the bottom of the fuselage. I armed my aircraft with a pair of AIR-2 Genie air-to-air missiles that are provided in the kit. A pair of AIM-4 Falcon missiles is also included with the model. Check again for overall fit and cement the fuselage sides together. Glue the upper and lower portions of the wings together and then attach them to the fuselage.
After attaching the horizontal stabilizers to the top of the tail, the basic construction of the model is complete. This kit was engineered nearly 25 years ago and does not exhibit the excellent fit of today’s models. As a result a considerable amount of filling and sanding of the seams is necessary.
When all of the joints are sanded smooth, tuck some wet tissue in and around the cockpit and spray a light coat of Tamiya’s “fine surface primer” over the entire model. This will highlight any remaining construction problems before you paint the model light aircraft gray (FS-16473). Mask and paint the interior of the wheel wells green zinc chromate and the landing gear doors and air brake interiors insignia red (FS-31136).
The kit’s decals allow you to dress your F-101B as a U.S. Air Force interceptor from Arizona or North Dakota. As an alternative, I elected to depict mine as a 1973 Air National Guard Voodoo from Minnesota’s 148th Fighter-Interceptor Squadron using decals from Experts-Choice sheet #48-25. A color photo of the squadron’s aircraft appears on page 40 of Bert Kinsey’s F-101 Voodoo in Detail and Scale.
Finish off the model by attaching the landing gear and canopy, and your “One-O-Wonder” is ready for display.

