Revell USA, Airfix of England and the Frog company produced English Electric Canberra models in the 1960s and ’70s, but they are all out of production now and very rare. In the 1990s, Classic Airframes relieved the drought of Canberra kits by releasing the B2, an early version of the bomber. It’s a huge model with a hefty $60 price tag, but there’s a lot in this 1/48th-scale kit box: a full resin interior and giant decal sheet with markings for a trio of aircraft. Classic Airframes kits are for the experienced modeler who has plenty of patience.
Start by taping the forward portions of the fuselage together and fitting the clear nosepiece into place. Light sanding at this point will help ensure a flawless fit after painting is complete. Note that this kit is the basis for several versions of the Canberra, with the forward section of the fuselage molded separately. Place the front and main fuselage parts on a flat surface, carefully align the two and then glue them together.
The interior pieces are cleanly molded resin castings. It is essential to completely remove the pouring blocks, since these parts fit tightly into the fuselage. Use a particle mask when cutting and sanding the resin, as the dust is toxic.
Canberra interiors were painted black. To avoid creating a “black hole” effect with your model, paint the interior dark sea gray, BS381C/638. Spray the instrument panels gloss black and dot the control knobs and handles with red, silver and white. Dry brushing with light gray will highlight the details. The ejection seat frames should be flat black, with khaki green cushions and off-white seat belts.
Next glue the horizontal stabilizers to their corresponding fuselage section. Note that these are butt joints. To strengthen this area, drill small holes through the fuselage and into the stabilizer roots, and then insert pieces of plastic rod into the holes to secure the parts. The wings will also require these strengthening rods.
Cement the completed interior into the left fuselage with cyanoacrylate cement and then add as much weight as possible behind the cockpit, to keep the model from becoming a tail-dragger. Glue the fuselage parts together and add the engine nacelles to the wings. The fit in this area is very poor, so you’ll need to do considerable filling and sanding. Next, look over your work and apply additional filler where necessary. Plug the cockpit opening with wet tissue and spray a primer coat overall. The English Electric Canberra Mk. I & IV, by Kenneth Munson, shows that B2s from No. 101 Squadron were painted gloss black and light aircraft gray, BS381C/627.
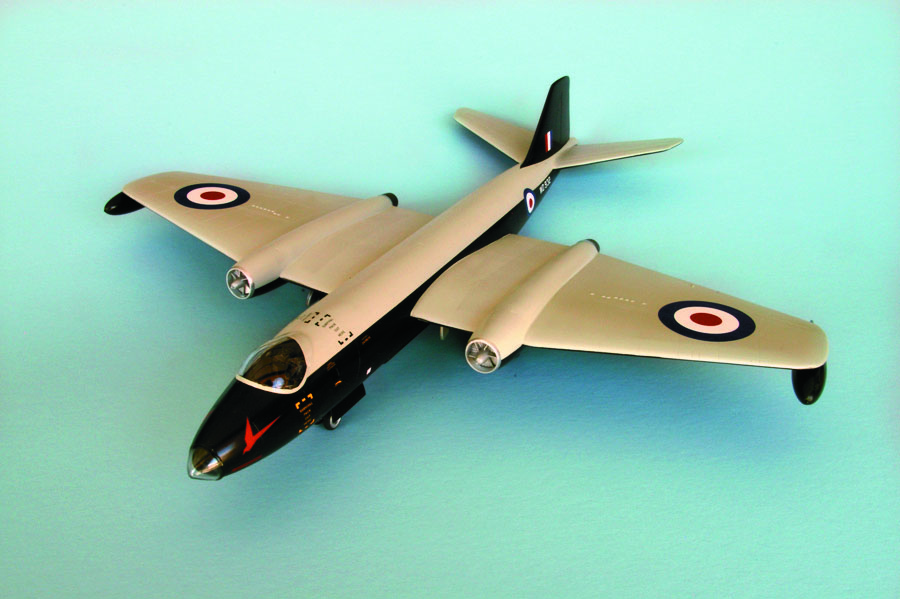
WD932, the Canberra that made the first nonstop, unrefueled crossing of the Atlantic by a jet, should be painted with Tamiya’s gloss black, X-1, which you can easily apply via an airbrush or spray can. After letting it dry overnight, mask off the underside and spray the top of the wings, stabilizers and the top of the fuselage with the light gray. The wheel wells should be sprayed either flat aluminum or British interior green, with silver landing gear legs and tire black wheels.
Apply a coat of Future acrylic floor wax to the model to provide a glass-like finish for the decals. The kit supplies the British national markings for WD932—the postwar, high-visibility red, white and blue roundels—and standard warning and safety stencils. I took the white underside and fuselage WD932 numbers and letters from various Super-Scale and Air Decal 1/48th-scale sheets.
Another coat of Future seals the decals. Once you attach the large bubble canopy and the bombardier-navigator’s glazing with white glue, your model is ready for display.