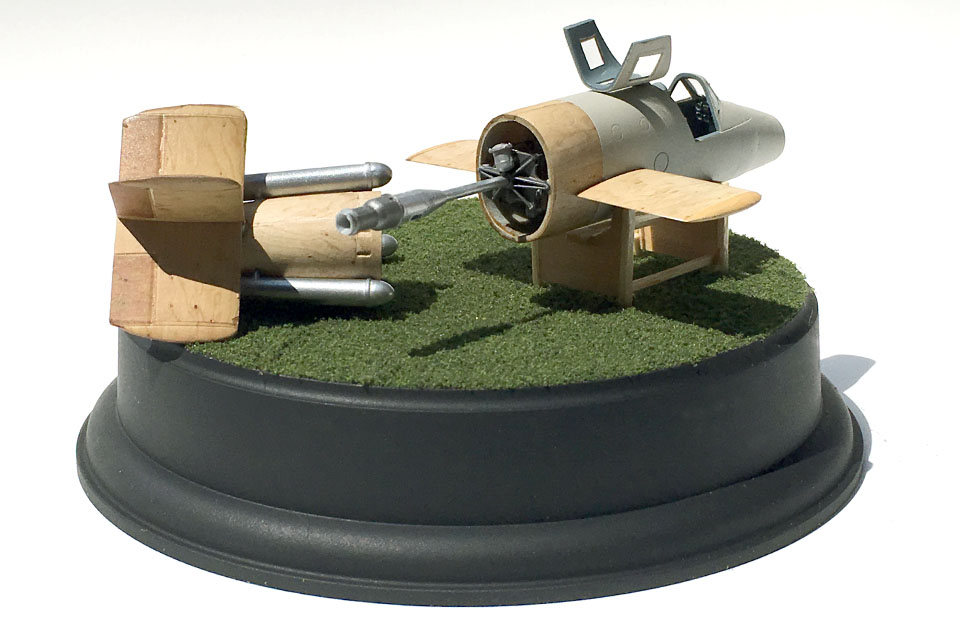
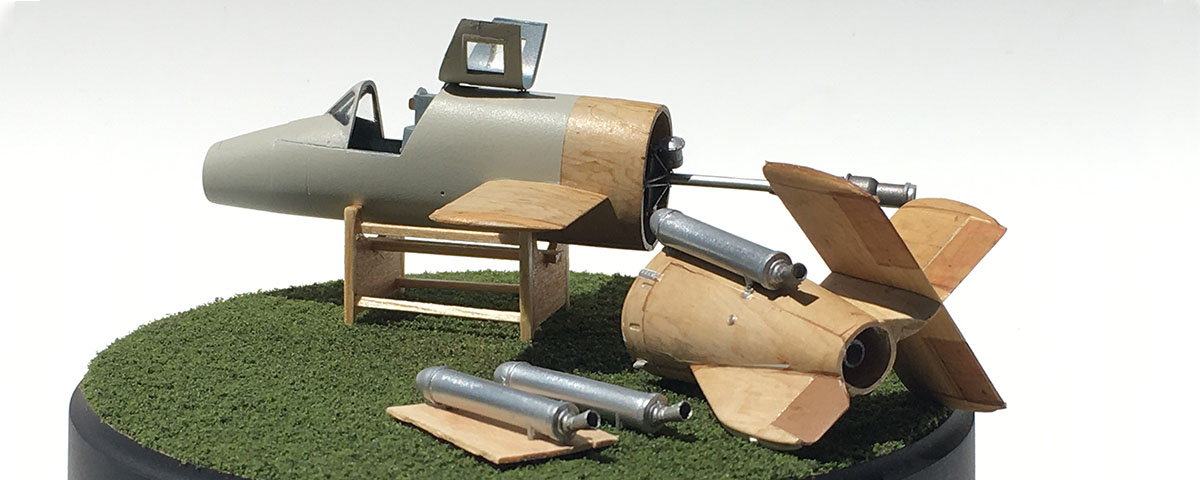
The rocket-powered Bachem Ba-349 Natter (November 2017 Aviation History) was a desperate attempt by the Germans to stem the tide of Allied bombers attacking enemy targets in larger and larger numbers during the waning days of World War II. Constructed from plywood and other non-strategic materials, it was a curious design that in retrospect probably looked like a better idea on paper.
DML/Dragon models from Hong Kong released their 1/48th-scale Ba-349 in the late 1980s. Crisp molding, nice detail, an etched-metal detail set and a complete Walter 109-509A rocket motor make this simple kit a gem. The fuselage is split so that it can be displayed showing off the power plant. This version of the kit comes with a simple maintenance stand, two mechanics and a display base.

Start with the front end of the aircraft. The cockpit is rather simple and straightforward, much like the real thing, with a medium grey interior, aluminum details and a small black control panel. Pick out details in the instruments and add the seat belts that are part of the metal detail set included in the kit. Beware, as some of the parts are very small and delicate. Be careful when removing them from the trees, and then be even more careful that they don’t disappear during assembly. The rocket motor is a combination of metal from the etched fret and a number of other delicate pieces. Patience is essential here, but pays off in a nice detailed feature of the finished model.
The Natter was made primarily of plywood, and the wooden finish makes for an interesting challenge. HGW Models from the Czech Republic sells a number of decal sets in a variety of wood tones. The decals are translucent and require a base coat—white or a pale tan works well. The film is very, very thin. Careful attention and that all-important tool, patience, are required. Measure twice, cut once when trimming the decal for its spot on the aircraft. A good approach is to make a series of templates for the plywood panels, then cut the shape and apply. The result is a very interesting, realistic finish.
Mask and spray the canopy. It’s a thick piece that benefits from masking both the inside and outside. Attach it to the forward section of the fuselage. Just tack the main section of the canopy in place to protect the cockpit from the grey primer that comes next. The primer color of the forward section and the natural plywood of the tail help give the appearance of a Ba-349 being assembled for an operational sortie. Spray the fuselage with a coat of semigloss to protect the finish. Attach the rocket motor, and the forward section of the Natter is complete. The rear section will be entirely plywood, finally completed and sprayed with a lacquer coat. Carefully pick out the metal details with a small brush.
This version of DML’s kit has a wooden support stand to display the finished model (another version includes a launch tower). The stand is very simple, sprayed and given a wood grain finish. The shapes are also simple enough to pull out some thin balsa and basswood to build the support stand from the real thing. After a light varnish, the Natter has a place to rest. Assemble and paint the four booster rockets a dark steel metallic color, and attach them to the rear section.
Finally, your Ba-349 Natter is ready to take its place alongside those other last-ditch Luftwaffe oddities that continue to fuel the question “what if…”

