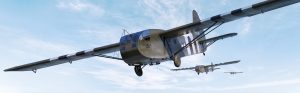
Every hero needs a nemesis. For that dynamic duo of the Battle of Britain—the Supermarine Spitfire and the Hawker Hurricane—the Messerschmitt Me-109E (our preferred designation) filled that role perfectly. The angular lines of the Luftwaffe’s frontline fighter give it a naturally aggressive look opposite the smooth curves of its rivals.
Airfix has had a Messerschmitt in its catalog since the late 1960s, but its 2011 release of a Battle of Britain–era Me-109E was its first in 1/48th scale. The kit was engineered to be built in a number of different versions. Cockpit detail is good, including an option to show off the Messerschmitt’s Daimler-Benz DB601A engine. It’s a popular airplane in any scale, and today the modeler has a number of great options to add even more detail.
The Eduard photoetched metal detail set (no. 49525) was designed specifically for the Airfix kit and is a great choice to spruce up the model. Starting with the cockpit, follow the instructions and file down the interior cockpit walls. The replacement metal pieces fit well on the fuselage sides. Do the same with the control panel, sanding off the raised portion and attaching the new control panel with super glue. New rudder pedals, seatbelts and harness are carefully attached the same way. Set aside the finished cockpit.

Once the cockpit has properly dried, paint the interior a medium slate grey. Bring the fuselage halves together along with the cockpit, taking care to align the control panel and the rear cockpit deck. The completed fuselage only needs a little filler and some sanding. The instructions call for adding the propeller at this time. Assemble the parts, but it’s best to save attaching the prop for later.
Next, assemble the wing. Use the Eduard set to add detail to the inside of the wheel wells. Flaps, ailerons and leading-edge slats are provided as separate pieces. The option to “drop the flaps” and assemble them in an extended position will help give the finished model the natural look of an aircraft at rest waiting on its next sortie.
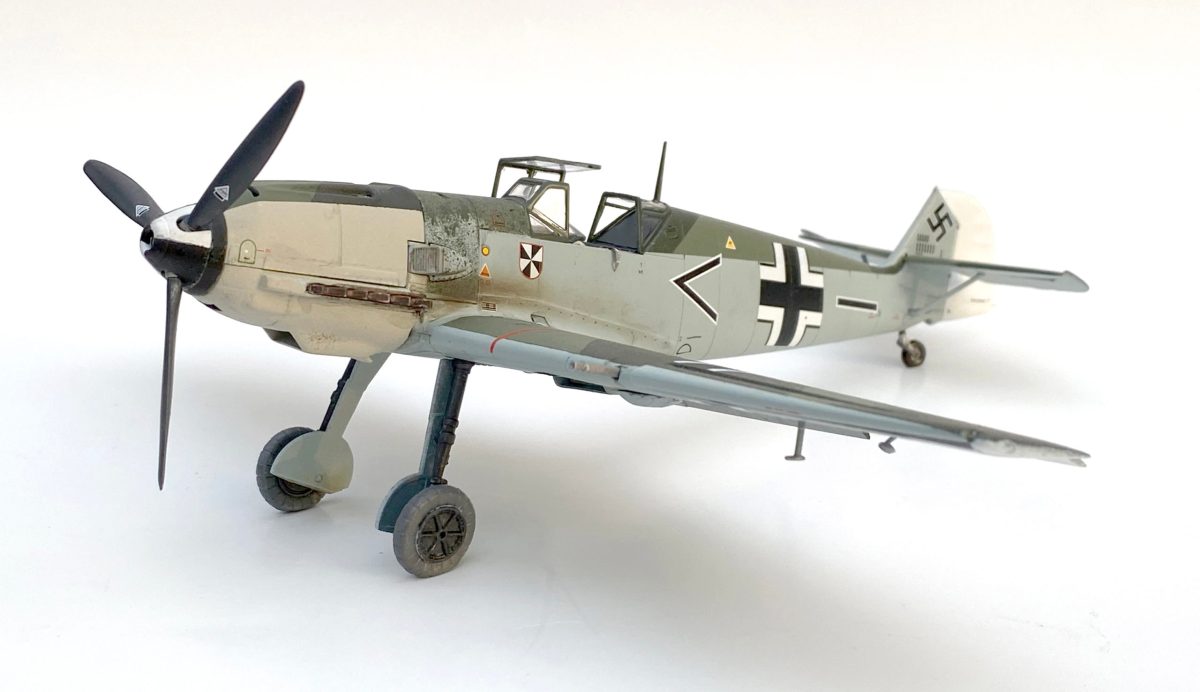
Bring the wing and fuselage assemblies together. Add the two radiators under the wing and it’s time to start painting. During the early days of the Battle of Britain, German aircraft were painted in a three-toned camouflage. The underside of the fighter is painted a light blue (RLM 65 in Luftwaffe parlance). The blue color extends nearly all the way up the fuselage sides. Follow the color artwork included in the kit. The upper surfaces are painted in an angular geometric pattern of dark green and a grayish-green color (RLM 71 and RLM 02, respectively).
This particular Messerschmitt also had the wingtips and rudder painted white, with the engine cowling painted an off-white color. Once the masking and painting is complete, add an overall clear varnish to prepare the model for its livery.

The markings for this fighter belong to Luftwaffe ace Oberleutnant Franz von Werra, who is perhaps best known not for his numerous aerial victories but for his dramatic escape after being shot down and captured on September 5, 1940. The talented fighter pilot was reportedly the only Axis pilot to escape captivity and return to duty.
The kit decals look great and are easy to work with. A bit of a setting solution allows the markings to settle nicely into panel lines and surface detail. Another coat of clear flat helps seal the decals and it’s time to move on to the next step.
Carefully mask the clear canopy, paint it and set aside. Attach the landing gear and it’s finally time to add the prop. Move on to the smaller parts first, but be careful with the small counterbalances underneath each aileron as well as the pitot tube. These last pieces are very delicate. Attach the three-piece canopy using white glue or a cement designed not to damage clear parts. The center section of the canopy is hinged on the right. Pose it open to show off all the detail in the cockpit.
A final bit of weathering, exhaust staining, some grime on the landing gear and Franz von Werra’s Me-109E looks much the way it did on the morning of his last Battle of Britain sortie and the beginning of his grand escape.