
Shortly after the end of the 1982 Falklands War, Airfix of England issued a 1/72nd scale model of an Avro Vulcan B.2 bomber of No. 44 Squadron that participated in the “Black Buck” missions during the conflict. That kit is long out of production, however, so instead we’ll start with Lindberg’s 1/100th scale (#70530) early version of the Vulcan, adding a few modifications using plastic strips and rods.
At first glance, the modifications needed to make this kit work may seem a bit complicated. But given a little patience, plus sufficient plastic strip and rod material to improve on the kit’s less-than-stellar fit and finish, you can create an acceptable model of a Falklands B.2. Purists take note: Our version will not be an exact replica, since we can’t reproduce the bow to the leading edge common to the Mk.2 wings.
As the Lindberg kit has no cockpit, the first step is to glue as much weight (BBs or fishing weights) as possible inside the nose, so your model will sit properly on its tricycle landing gear. Next paint the interior of the fuselage flat black, FS-37031.
The engine intakes have no backing. To eliminate the “see-through” effect, make a portion of the trunking with one-inch lengths of 5/16ths-diameter Evergreen plastic tubing. Cement squares of sheet plastic to the ends of the tubing, then attach this assembly inside the wing. You’ll need to make some cutouts for the part of the wing where it attaches to the fuselage to accommodate the tubular pieces added to the interior.
While the wings are drying, cement the fuselage sections together. Late versions of the Mk.2 Vulcan were fitted with a rear warning radar housing on the tip of the vertical stabilizer. The RWR housing can be made from 11⁄2-inch-long pieces of .030-by-5/32nds plastic strips glued to each side of the top of the vertical stabilizer. Fill the gap between the strips with lumps of Miliput epoxy putty; once this dries, it can be sanded to shape.
Attach the wings to the fuselage. Since the fit here is very poor, you’ll need to use some plastic strip shims as well as several generous applications of putty to improve its appearance. Once you’ve filled and sanded all the gaps, spray a coat of Tamiya gray primer over the entire model to reveal any areas that need additional work.
The Vulcan was not originally fitted with an in-flight refueling probe, but that was an important part of the Mk.2 modifications. You can fashion a convincing replica of a refueling pipe using an inch-long piece of plastic rod, sanded to shape. After drilling a small hole in the nose of the bomber, glue the rod into place.
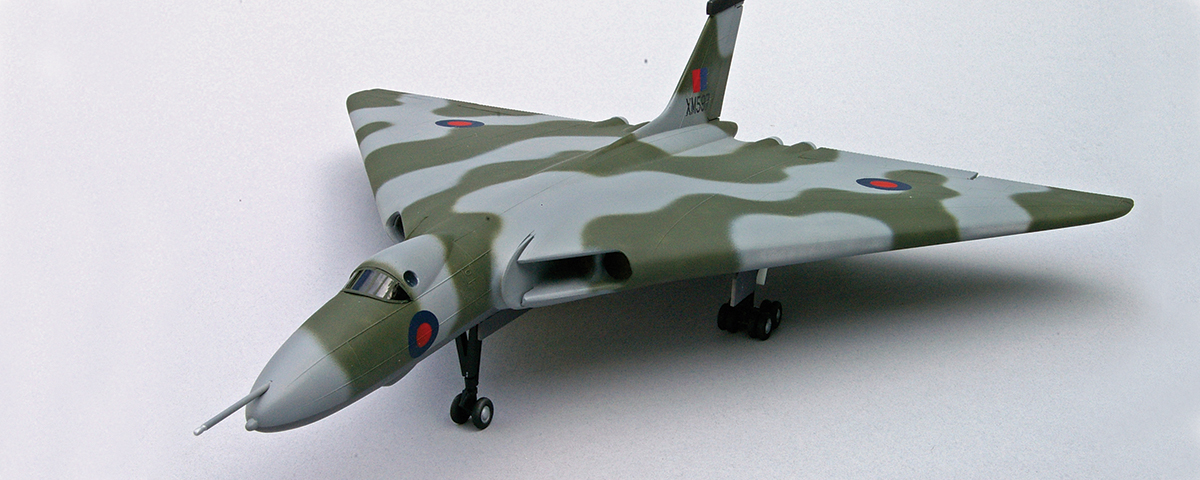
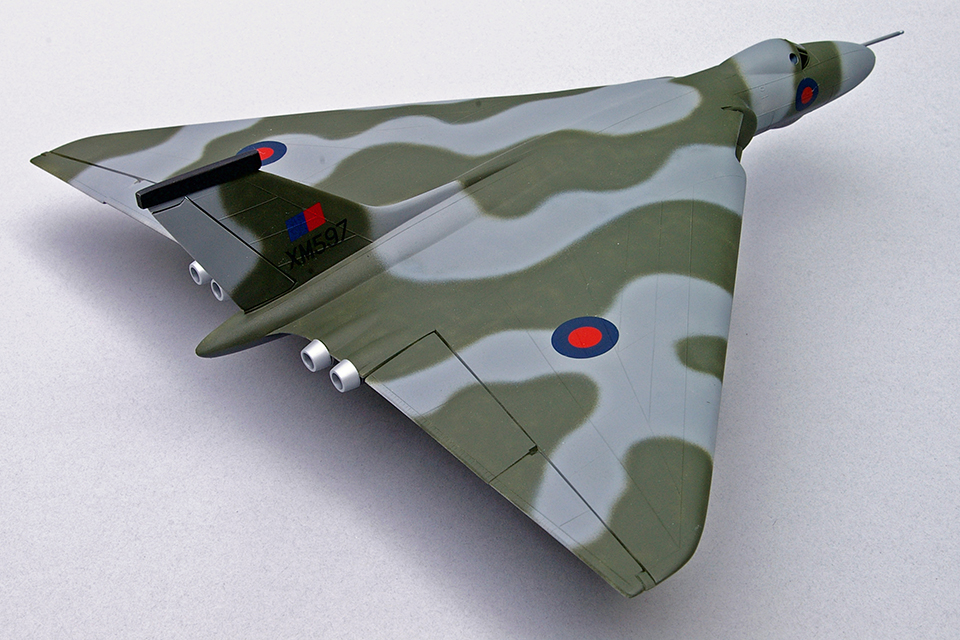
You can find all the modifications for a Falklands Operation Black Buck Vulcan in Avro Vulcan B Mk.2/Mk.2K, part of the Aeroguide series published by Linewrights, Ltd. Note that on the bottom of P. 32 there’s an illustration of XM-597, which participated in the Port Stanley raid in August 1982. According to the book, XM-597’s underside was painted dark sea gray, BS381C/638—a departure from most Vulcans, which were painted light aircraft gray. The bomber’s topsides should be painted an irregular pattern of medium sea gray, BS381C/640, and Royal Air Force dark green, BS381C/641. Paint the landing gear struts semigloss black and the wheels “tire black.” The wheel wells and gear doors should be standard gloss white, FS-17875.
Next, mask and paint the windshield frames. Note that all squadron markings were painted out on Black Buck aircraft, with only the dark blue and red British roundels, red and blue fin flash and black aircraft numbers remaining. With the markings in place a coat of clear lacquer, your Vulcan (and your hard work) are ready for display.