From training pilots to putting lead on target
With a more powerful engine and reinforced wings, the North American T-28 Trojan could also double as a potent ground-support fighter. The Trojan’s capabilities were not lost on a number of smaller countries looking for an economical addition to their air forces. Armed versions of the T-28 saw action in many hot spots during the Cold War.
The Kit
Roden, a small model company based in the Ukraine, has become popular with modelers for its detailed kits, excellent decals and interesting subjects, offered in a variety of scales. Its T-28 is no exception. The 1/48th-scale Trojan has been released as a primary trainer, an upgraded T-28C and the ground-attack T-28D, complete with a nice variety of weapons.
Start with the cockpit. Paint the interior a light aircraft gray. Take care with the control columns, as they are delicate and require a steady hand while removing them from the parts tree. Other than the addition of a pair of aftermarket resin seats and an etched brass harness, the cockpit looks good straight out of the box.
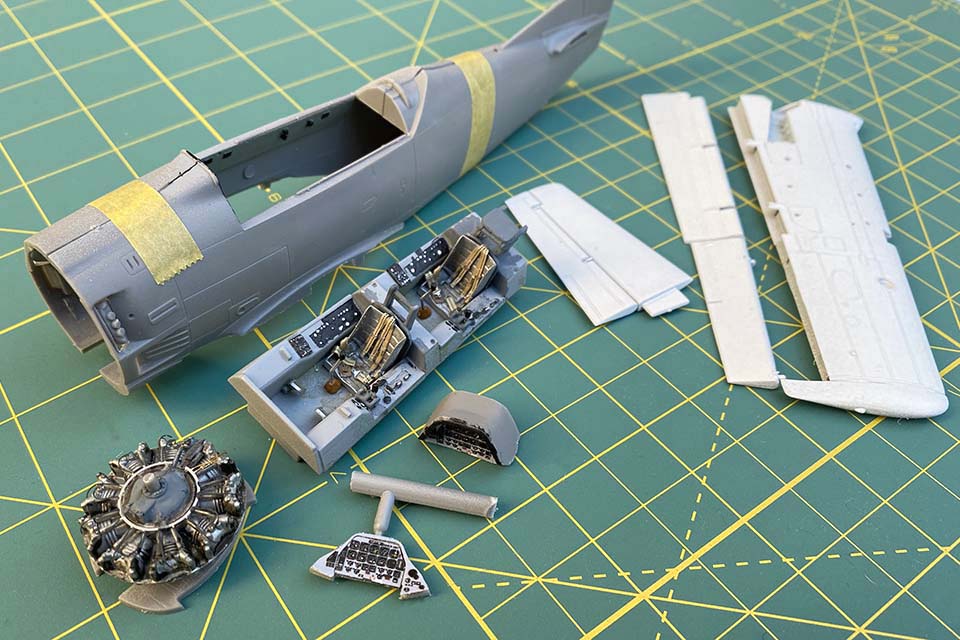
Next, move on to the engine. Paint the engine cylinders an aluminum color and the center engine casing a primer gray. A dark wash helps the detail pop. Attach the completed engine to the firewall.
While the cockpit and engine dry, assemble the two-piece flaps, ailerons and rudder. Along the part that makes up the lower wing, open up the small holes where the weapons pylons will be attached later. Put together the wings and set these pieces aside.
Recommended for you
The kit’s landing gear, especially the nose-gear strut, is delicate. Invest in an aftermarket metal landing-gear set and resin tires. Paint the gear aluminum with a glossy chrome color for the oleo section of the strut itself. Tires are a deep rubber color with aluminum-colored hubs and brakes. Once complete, set the gear aside.
Sand and dry-fit the piece that forms the underside of the fuselage (part 22B). Bring the fuselage halves together, gluing the completed cockpit in place, then add 22B to complete the basic fuselage.
In order to make the Trojan sit correctly on its tricycle landing gear you need to add extra weight up front. The space between the cockpit and the engine’s firewall is perfect for enough lead fishing weights to do the job. A good rule of thumb is that if you think there’s enough, add more. Glue the engine and firewall in place and add the cowling, completing the fuselage.
Attach the wings and reach for the putty—some seams along the wing root and under the nose of the model will require filling and sanding. Aside from this area, the fit throughout the rest of the kit is good.
Heading for the Paint Barn
Camouflage for this airplane is the same standard paint scheme used on most U.S. Navy aircraft of the 1960s. The undersides and weapons pylons should be painted insignia white (FS 17875). Upper surfaces are light gull gray (FS 36440). Mask off the cockpit and paint the undersides of the airplane first.
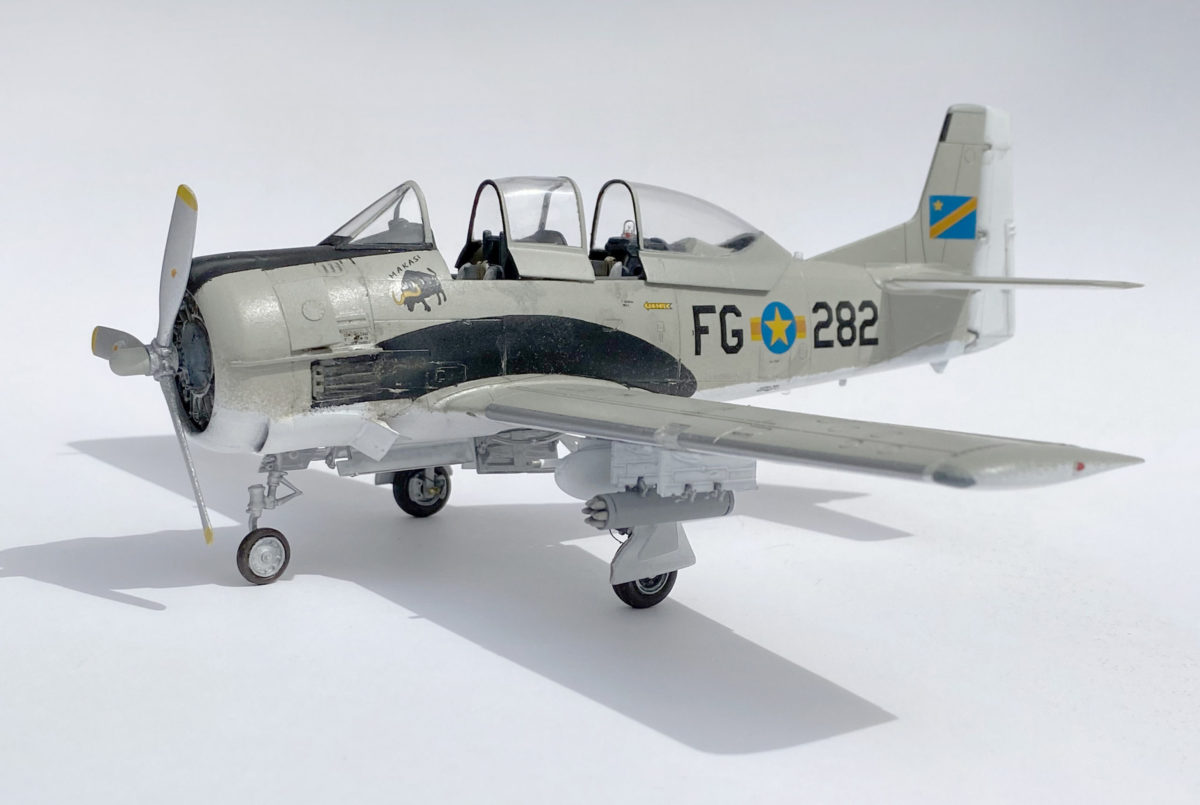
Typical of Trojans painted in lighter colors is a black area painted along the side of the fuselage. The shape curves back from the engine exhaust to the trailing edge of the wing. It helps disguise the side of the fuselage that collects dirt and staining from constant use. Draw out the shape using the reference illustration in the instructions to create a mask and paint the area flat black. Mask off an anti-glare panel from the cockpit windscreen across the top of the engine cowling and paint that black as well.
A secret set of markings
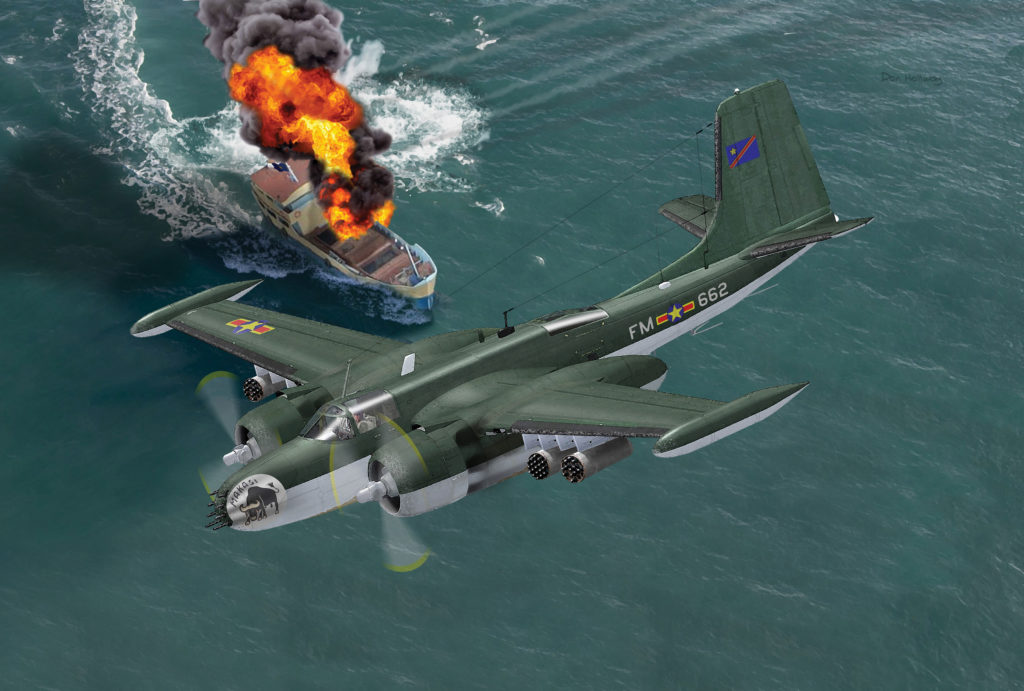
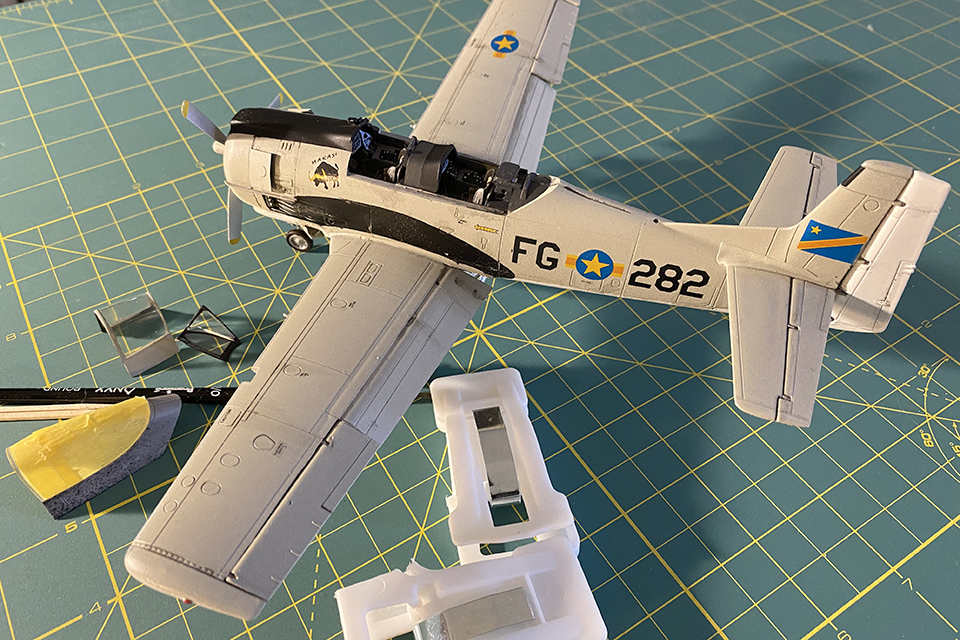
Once the painting is complete, attach the rudder and horizontal stabilizer, flaps and ailerons. The flaps are designed to be fitted in a “dropped” position to give the model a more natural look. Spray a clear gloss coat over the model and it’s ready for a set of decals. The Roden kit contains markings for three different aircraft: a U.S. Air Force trainer based at Eglin Air Force Base in Florida; a camouflaged Trojan that served with the 606th Special Operations Squadron, based in Thailand during the Vietnam War; and an aircraft that was part of the CIA-backed air force flown by Cuban exiles during the civil war in the Congo in 1964.
After the decals have been applied and a clear coat has sealed the markings, attach the landing gear, gear doors and speed brake. The main landing gear doors are a two-piece affair that benefits from carefully studying the instructions and a reference photo or two. Next, attach the pylons and weapons. There’s a good selection to choose from—rocket pods, two different types of machine gun pods, 250-pound bombs and a pair of SUU-14A bomb dispensers.
Photos of T-28s that provided ground support in the Congo show that a typical loadout consisted of machine gun pods and rockets. Once the weapons are attached, add the three-piece canopy using white glue or a cement designed for clear parts. Make sure to attach the pieces in an open position to show off all that cockpit detail.
Once the final pieces are attached, this CIA veteran T-28 is ready to shine on a clandestine section of your display shelf.

