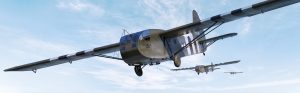
The Boulton Paul Defiant was a curious sort of fighter. The British airplane was designed around a single motorized turret with a mean-looking set of four .303-inch Browning machine guns.
The idea—four machine guns mounted in a powered turret, spitting out 1,200 rounds per minute each—probably looked good on paper. It packed enough punch to bring down any Luftwaffe bomber. For a moment, during the desperate summer of 1940, it did just that. However, the lack of any forward-firing guns was quickly discovered to be the Achilles’ heel of the heavy fighter. While a number of turret gunners became aces during the early days of the war, the airplane ultimately was relegated to service as a trainer. A number of Defiants were put into service as night fighters, a role in which it had some success bringing down enemy bombers.
The Kit
The 1/48th-scale Airfix release is not simply an upscaled version of their recently retooled 1/72nd-scale kit; it’s a nicely detailed and well-engineered model of this fascinating fighter.
Start with the cockpit. There is plenty of detail straight out of the box and it needs only an aftermarket set of seat belts and harness to give it that little extra oomph. Paint the interior an RAF standard interior green. The pilot’s seat should be a reddish brown to simulate the color of the Bakelite material many of the early seats were made from.

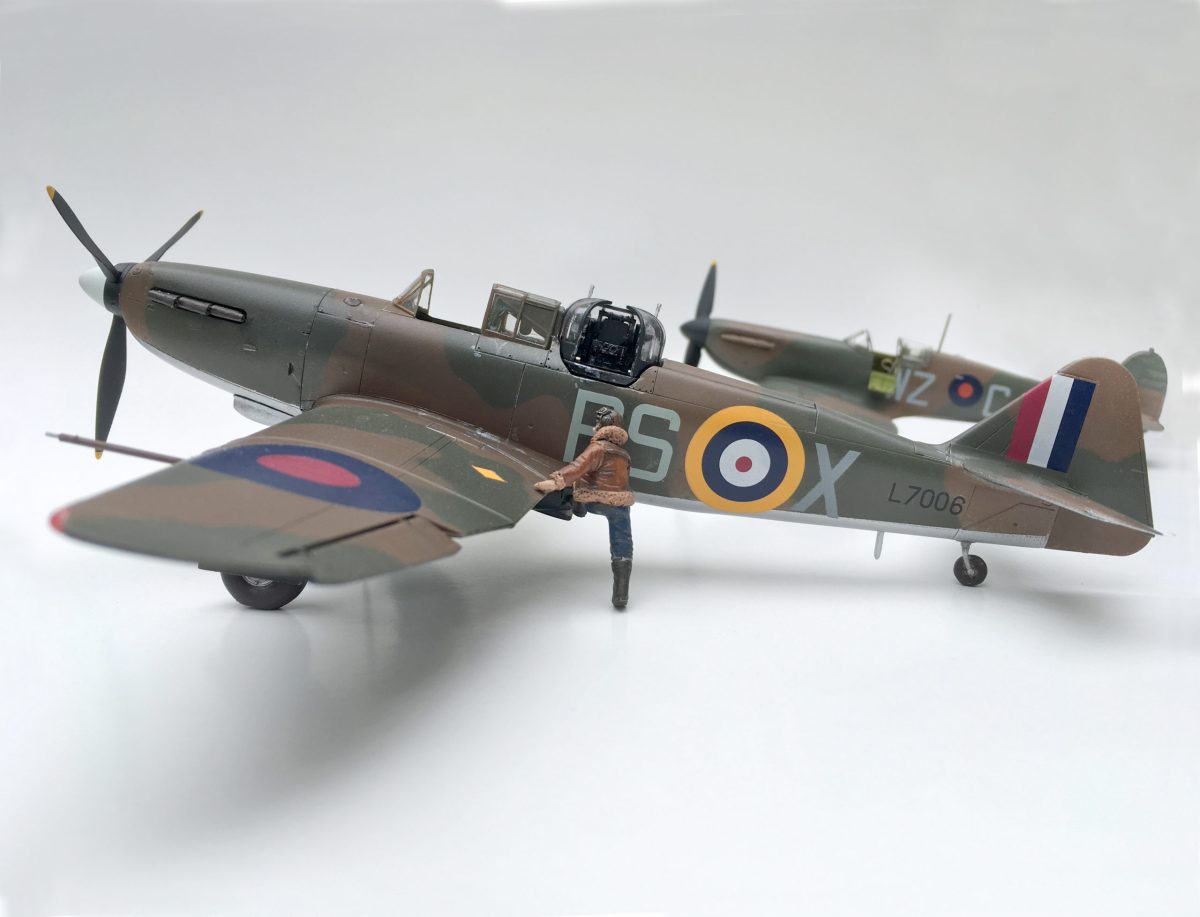
The turret is the focus of the model
The turret assembly is a tiny gem all by itself. Most of the turrets were painted entirely black, with the exception of a gunmetal color for the machine guns. There is nice interior detail and an option to show the turret opened up. If you decide to show off the turret interior, do not attach the two sliding access doors (clear parts E12 and 13) until the end of the build. Once the turret is complete, set it aside.
With the cockpit complete, carefully bring together the fuselage halves. Take care to dry-fit pieces and pay close attention to the fit between the cockpit and fuselage. Use clamps and modelers tape to help seal the seams, and set aside to dry.
The wing has five major sections broken down along panel lines that will need little filler. Horizontal stabilizers, rudder and ailerons are molded as separate pieces, enabling the modeler to attach the parts in a more natural pose. Paint the interior of the landing gear bays a natural metal color. Assemble the wings and it’s time to move on to the next step.
After bringing the completed wing together with the fuselage, start masking for the camouflage scheme.
Painting the early wartime camouflage
In the late 1930s RAF Fighter Command had units paint the undersides of their aircraft with a split black and white scheme in order to aid in identifying friendly aircraft from the ground. The port side (left) would be painted black and the starboard wing white. Many units interpreted the rule to mean that the black and white scheme split down the centerline of the fuselage. Others left some areas in a natural metal and only painted the wings in black and white. Markings for this fighter reflect the latter approach, with the wings painted black and white and the forward and rear fuselage remaining natural metal. The upper surfaces were painted in a standard RAF pattern of dark earth and dark green.

Once the careful ritual of masking and painting is complete, give the model a coat of clear gloss and let it dry overnight. Mask and paint the cockpit canopy, assemble the main landing gear and paint the landing gear doors. Be careful to paint the correct door the correct color!
Now is a good time to start adding decals. This Defiant is marked as an aircraft from No. 264 Squadron based at RAF Kirton-in-Lindsey, Lincolnshire, during the early summer of 1940. Add a coat of clear flat to protect your work.
Attach the landing gear, propeller and engine exhausts. A light wash will bring out panel lines, simulate oil stains and add a little weathering. A sharp silver colored pencil can be used to add subtle paint chipping.
The final assembly
Carefully, very carefully, install the turret. The fit is tight. Keep an eye on the four machine gun barrels. Even the best of us have had one snap, bringing the project to a dead stop. If you have elected to show off the turret interior, now is the time to add the two clear pieces (E12 and 13) that make up the entrance hatch to the guns. Attach the windscreen and the rest of the canopy. The landing lights in the wings are a two-piece affair. Paint the rear of the light bulb (E2) a chrome silver. The color will shine through the rest of the clear piece. The clear cover (E4) goes on next. Add the pitot tube and the two antennas along the underside of the fuselage.
Your Boulton Paul Defiant is finally ready to take its place next to the other Battle of Britain stalwarts in your collection.