
Eduard’s 1/48th scale kit (No. 1119) of the Yak-3 builds into a realistic model of the tough and agile fighter that dominated the Eastern Front during the war’s last days. Construction begins with the cockpit. After painting the plastic pilot’s “tub” and fuselage sidewalls field gray, carefully apply the many prepainted etched metal parts, which bring significant detail to the “front office.” These metal parts are very fragile and bend easily, so handle them with fine tweezers and attach with dabs of white glue. The instrument panel is a combination of three parts sandwiched together to duplicate the cluster of dials and switches.
The final step in cockpit construction is to paint the pilot’s seat back “leather” and attach the prepainted seat belts. Then glue the assembled cockpit securely to the floor area molded into the center section of the top wing. Close the right and left fuselage halves, carefully position it over the finished cockpit and glue it into place. Note that the fit is very tight. Align and cement the bottom and top wing sections together. Then attach the elevators to the airframe, check over the construction and fill any gaps.
Place wet tissue inside the cockpit opening to keep out overspray during painting. The kit contains full-color views and decal markings for six Yak-3s in service from 1945 to 1947. The basic camouflage is a soft-edged pattern of dark sea gray (BS381C/638) and a lighter gray (FS-36231). The underside is light blue, a bit darker than German WWII “hellblau,” RLM-78.
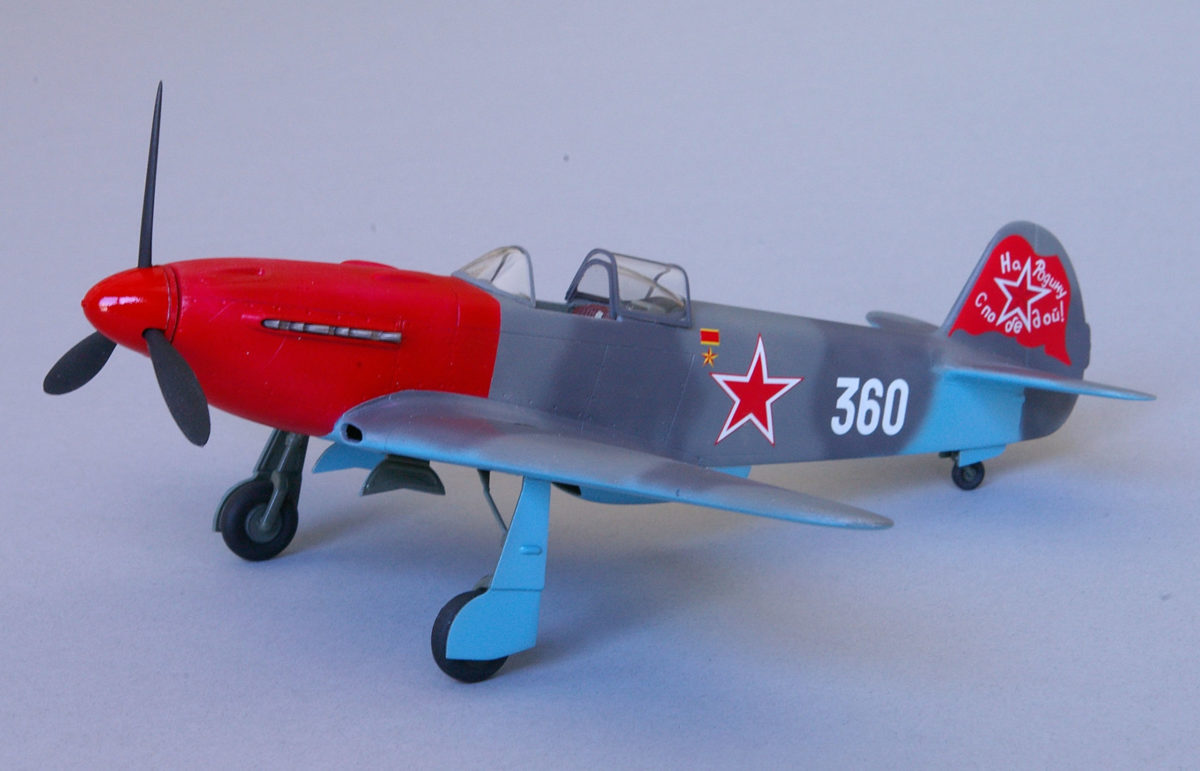
I painted my Yak-3 in the colors of Colonel Anton D. Yakimenko, commander of the 151st Guards Fighter Air Regiment on the Eastern Front in 1945, which had a bright red cowling and spinner. To duplicate this distinctive scheme, mask the front of the fuselage according to the diagrams included in the kit, then undercoat the area with gloss white. When it’s dry, spray an overcoat of bright red over the nose.
Paint the landing gear, wheel wells, inside of the gear doors and wheel hubs field gray. Then apply the yellow tape masks provided in the kit to the rims and spray the tires dark gray. After the paint dries completely, spray a coat of Future acrylic floor wax or Testors glosscoat over the entire model. This provides a smooth bed for the decals. Yakimenko’s aircraft carried a unique red banner that covered almost the entire vertical stabilizer and a Hero of the Soviet Union badge just behind the cockpit.
Painting the cockpit frames is simple using the tape masks provided. Apply the masks, dampened with a little water and a drop of dishwashing detergent, to the clear parts, then slide the masks into position. Finish by attaching the landing gear and cementing the cockpit clear parts into place with white glue.
Eduard’s kits are a bit more complicated and expensive than most, but given their etched-metal details and multiple decal selections, they build into remarkable models for the price.