
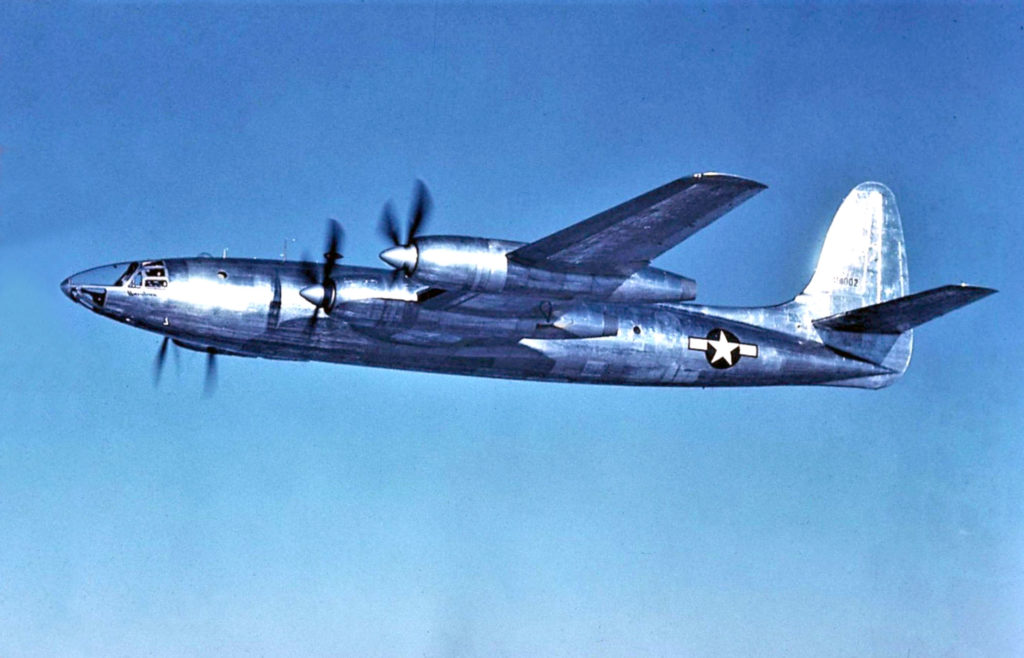
In 1943 the U.S. Army Air Forces urgently needed a long-range photoreconnaissance aircraft to track Japanese forces in the Pacific. Republic Aviation proposed the XF-12 for that role. By war’s end, however, only one of the prototypes was partially complete.
Anigrand Craftsworks of Hong Kong produces kits of the XF-12 in 1/72nd and 1/144th scales. The 1/72nd-scale kit is huge, but the finished smaller-scale offering fits nicely on a bookshelf. Though the kit costs $80, it includes three bonus reconnaissance aircraft: the Hughes XF-11, Northrop XF-15 and Beech F-2A. Anigrand kits are not for beginners, as all components require reshaping, “flash” removal and considerable filling and sanding. Also note the kit pieces are molded from polyurethane resin, so you’ll need to use a particle mask when sanding, since inhaling the dust may cause illness.
Construction starts with cleaning up the 16 prop blades and drilling out the locations on the spinners. Once you’ve shaped the blades, paint them flat black, adding insignia yellow tips with chrome silver spinners.
Read about Republic’s streamlined masterpiece
Paint the cockpit “interior green,” FS-34151. You’ll need to scratch-build the control yokes from plastic rod and wire, fabricating an instrument panel from plastic sheet painted black. Two seats are provided, which can be dressed up with paper belts. Extra effort here pays off, as the cockpit can be seen through the model’s greenhouse. Before cementing the fuselage pieces together, place as many BBs as possible into puddles of white glue behind the cockpit bulkhead, to keep your model from becoming a “tail sitter.”
Note that you’ll need to cement the resin kit parts together using cyanoacrylate super glue. Keep a bottle of fingernail polish remover handy during the construction process to unstick your fingers if they get glued to kit pieces.
Insert the starboard and port wing sections into the locating holes in the fuselage and glue into place. Do the same with the horizontal stabilizers, and fit the rudder to the vertical tail. Next attach the engine nacelles and exhaust ports to the wings. These joints will require filling, sanding and reshaping to maintain their streamlined profile.
Glue the cockpit greenhouse pieces together with jeweler’s watch crystal cement (do not use cyanoacrylate for this, as it will fog the transparencies). Polish the seams of the transparencies, then dip the glazing into acrylic floor polish, which will fill in any scratches and make the greenhouse shine. Mask the cockpit “glass” and glue the canopy assembly to the fuselage with jeweler’s cement. You’ll need to reshape the nose and use several coats of filler to blend the greenhouse into the fuselage.
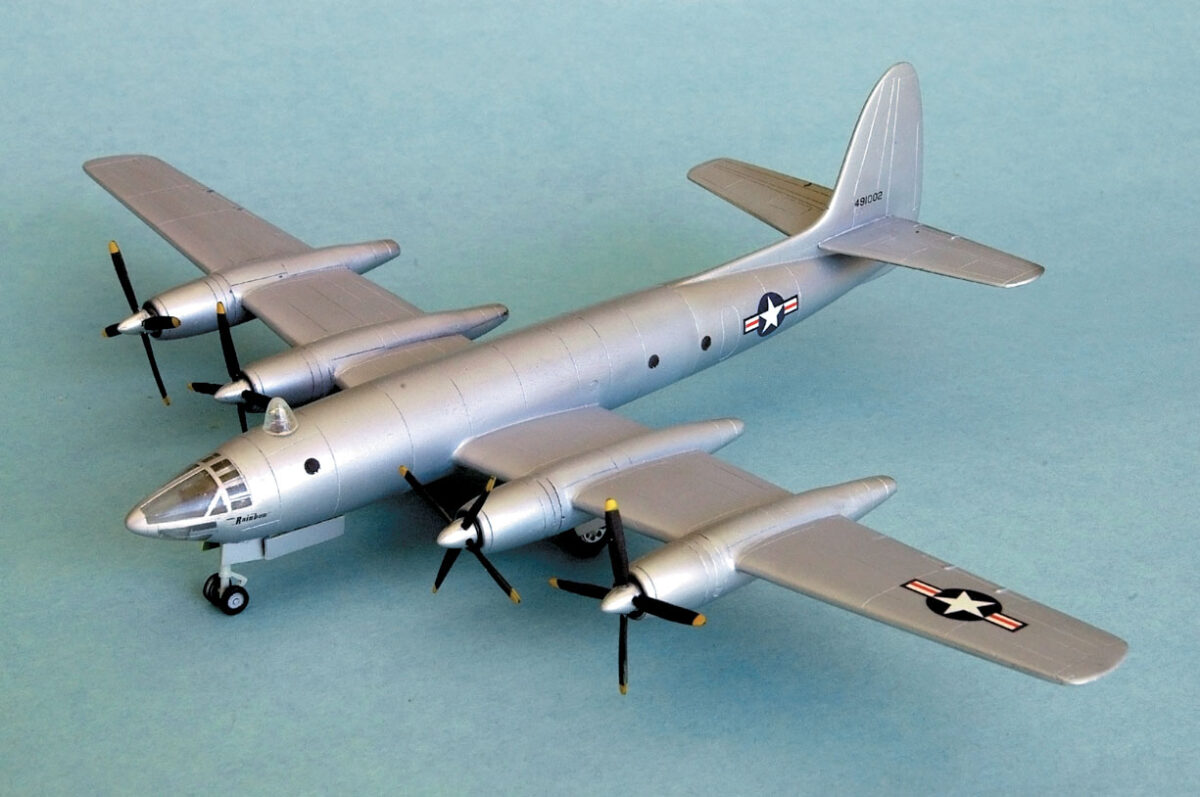
The Rainbow left the factory in unpainted aluminum. After priming and wet-sanding your model, check over your work and repair any flaws; every scratch and blemish will be magnified by silver paint. Spray your model with gloss black lacquer to give it an ultra smooth base for Floquil’s bright silver, platinum mist and old silver—various shades of silver that will duplicate the aluminum skin. Refer to Rainbow photos to see where to spray contrasting shades, to break up the monotony of an all-silver aircraft.
Fabricate the nose gear doors from .020 plastic stock. Paint the nose and main gear wells and interiors chromate green. Note that the nose wheels on the kit are misshapen. I scratch-built replacements using 3/16th-inch-diameter plastic rod.
The kit provides markings for the XF-12 with WWII and postwar insignia. Since the Rainbow made its first flight in 1947, the national insignia utilizing the red stripes within the white bars seems correct. Once the insignia is in place, your Rainbow is ready to display.