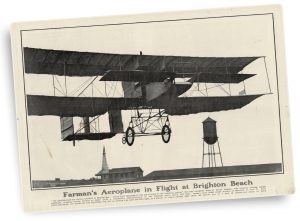
World War I French troops hunkered down in trenches called the Nieuport 17s circling above them “silver hawks.” One of the best-known silver hawks was flown by Georges Guynemer, recognized by many as the “most famous stork,” a reference to the red and blue bird emblazoned on the side of Escadrille N.3’s aircraft.
Eduard’s 1/48th scale Nieuport 17 (kit #8023) is complete with all the modifications, painting masks and markings needed to build Guynemer’s aircraft as it appeared in July 1916. Construction starts with painting the sidewalls and floor of the cockpit “wood.” The seat is “leather,” with belts made from paper strips. Stain the strips with black coffee, and while they are still wet drape them over the seat to give the straps a realistic arrangement.
The rest of the cockpit has a throttle side panel and rudder bar that should be painted aluminum. Strangely, there is no instrument panel included in the kit, but you can easily make one from a piece of styrene stock and a few dots of paint. Don’t spend too much time on the cockpit, however, since not much is visible once the fuselage is assembled.
Attach the bottom wing and the horizontal stabilizer to the assembled fuselage and set aside to dry. A complete 110-hp LeRhône 9J rotary engine, unique to Guynemer’s aircraft, is contained in a separate bag in the kit. The engine should be painted steel with a wash of gloss black to bring out the details. An additional cutout portion of the cowling, included in the kit, is attached to the top center.
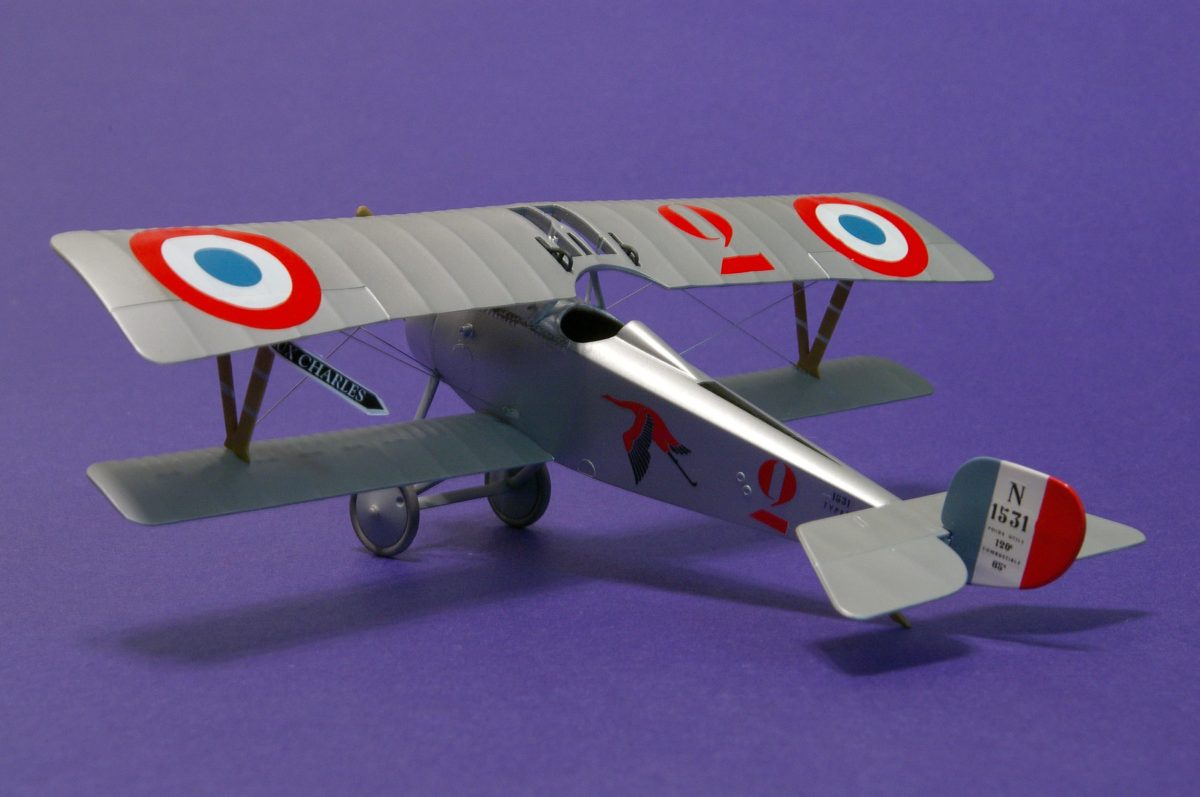
Nieuports belonging to N. 3, with a few exceptions, were painted overall with an aluminum dope to protect the linen fuselage covering from ultraviolet light. Painting the entire model one shade of aluminum is correct, but to give it some depth of color try to break up the finish by using various shades of the silver paint. The cowling and the forward portion of the fuselage were aluminum and can be painted with Model Master’s “buffing aluminum.” The remainder of the fuselage and wings should be sprayed with Floquil’s “platinum mist” (a lusterless shade that gives the appearance of paint on fabric).
The vertical stabilizers of French WWI aircraft were painted red, white and blue. Decals are provided in the kit, but they don’t fit well. Paint this control surface overall insignia white (FS-17925), and when it’s dry, use the kit masks to paint the rear portion insignia red (FS-31136). The forward section is U.S. Navy blue-gray lightened with a little white, so that it matches the center color of the French insignia roundel.
One of the distinctive portions of Lieutenant Guynemer’s aircraft was the nonrotating “cône de penetration” that was attached to the front of the propeller to alleviate some of the drag caused by the LeRhône engine. Spray the cone white and then, using the masks provided in the kit, employ the same colors as on the vertical stabilizer. (This is not an easy task and requires a steady hand.) The cone was only on the aircraft for a short time and can be excluded if you choose. Another important feature of Guynemer’s aircraft, included in the kit, is the top wing with the two special cutouts that gave improved upward vision during aerial combat. Micro Scale “crystal clear” can be used to fill in these cutouts in final construction.
The outer wing struts should be painted “wood” and then, when dry, masked and the metal strengthening bands painted aluminum. There are decals in the kit that can be used for this job. To add additional interest to an overall silver model, paint the inner wing struts and the landing gear assembly light gray (FS-36375), mixed with a little aluminum. Do not assume that WWI aircraft tires were always black. Most were light gray or light brown, and some were actually pink. Model Master gray (FS-36231) is a good match.
WWI Nieuports carried the French roundel on the top and the bottom of the upper wing. Apply the national markings and then attach the outer wing struts using white glue. The inner struts can be cemented in place now, and then the top wing can be glued to lower wing and the fuselage.
Nieuport 17s had relatively few bracing wires. Minimeca (ref. 106) stainless steel 0.20-by-250 wire is excellent for this job. Use a pair of dividers to determine each wire’s length and attach them with white glue. The final task is to paint and attach the windscreen to the area in front of the cockpit.
Originally published in the September 2006 issue of Aviation History. To subscribe, click here.