Model Inspiration
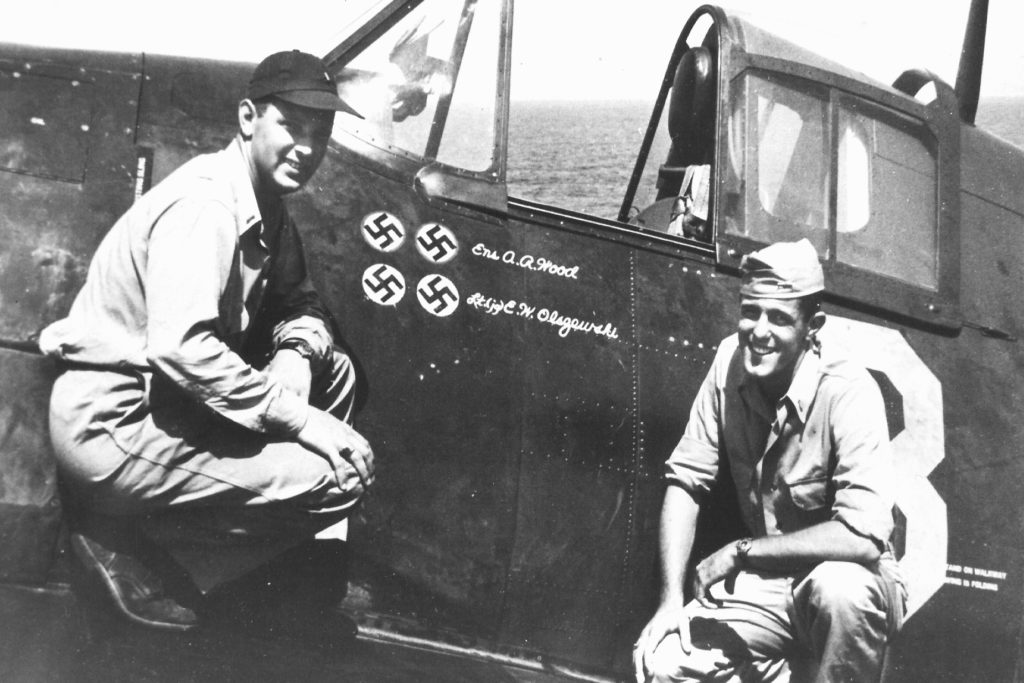
During Operation Dragoon, the invasion of southern France in August 1944, Observation Fighter Squadron 1 (VOF-1) pilots Ensign Alfred Wood and Lt. (j.g.) Edward Olszewski took turns flying the same Grumman F6F-5 Hellcat, shooting down a total of four German aircraft. The fighter they flew was an early model of the F6F-5.
The Czech model company Eduard has become known for their crisp detail and accuracy. For the picky modeler who wants to build that earlier version of the Hellcat, an Eduard kit is a great choice. Their “Profipack” early F6F-5 release (No. 8225) makes a great OOB (out of the box) project. Finely detailed resin wheels and a beautiful color PE (photo-etched) metal fret means there’s almost no need to buy extra aftermarket sets.
Getting down to details
Start with the cockpit and a coat of “interior green” (FS34151) on cockpit walls, seat, bulkheads. Should you decide to use the PE detail set, find some quiet time and unpack your patience. Study the instructions and begin carefully working your way through the (sometimes very tiny) details. Toothpicks and even a small needle are good tools for applying glue to tiny areas. A pair of tweezers is a must.
Align the cockpit between the fuselage halves, glue and clamp where needed. Set the assembly aside and move on to the next step. Overall the fit is very good—only some minor filling and sanding is needed.
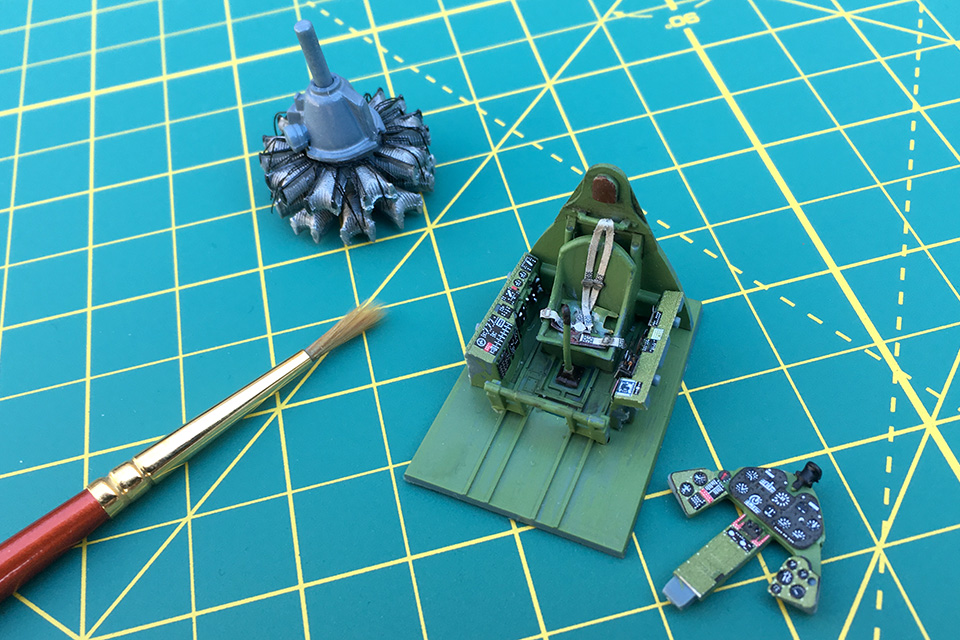
The engine is a nice little model all by itself. Crisp detail on the Pratt & Whitney R-2800 is accentuated by a wiring harness from the PE fret. Paint the cylinders an aluminum color, the crankcase grey and wiring black. Use a dark wash to pop out the highlights.
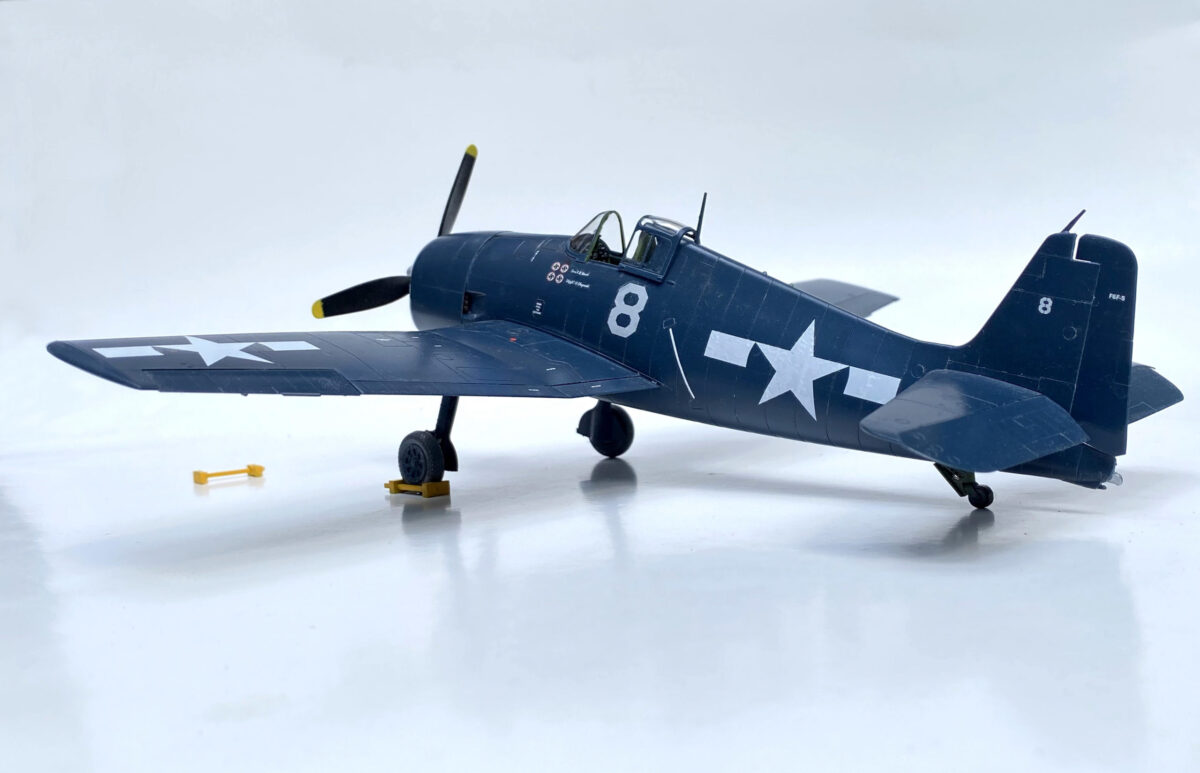
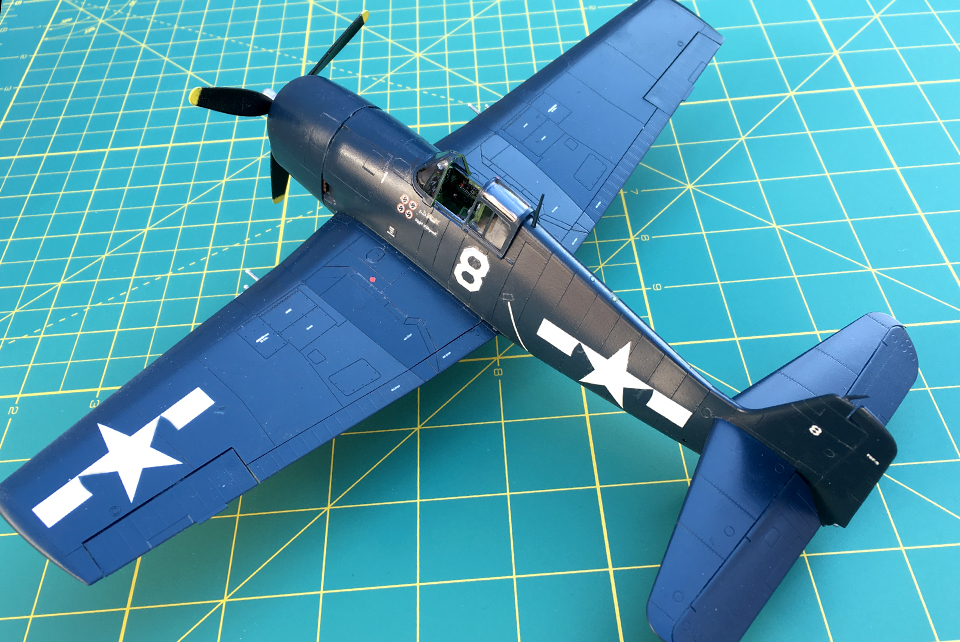
Assemble the horizontal stabilizers. Glue the landing gear interior to the bottom half of the wings and put them together as well. After a little sanding, clean up the wings and stabilizers. Bring the assemblies together and the airplane is ready for the paint shop. Camouflage for this Hellcat is relatively easy. The fighter was painted an overall “sea blue” (FS 25042), including the landing gear. Mask off the cockpit and give the model its color.
A little weathering will add some interest to the monochromatic color scheme. With a cotton swab, ground black, white and a bit of blue oil pastel can create exhaust staining that resembles the way heated metal looks against a darker colored area. A little oil and some fuel stains help give the look of an airplane that spends time outside on a pitching carrier deck. Apply an overall spray of clear gloss and the model is ready for its markings.
There are a couple of aftermarket decal sets available that have the markings for Olszewski and Wood’s airplane. National insignia and stencils come from the kit’s decal sheet. The national insignia in particular is composed of just the white star and bars, using the dark blue of the airplane to substitute for the rest of the design. The fighter’s four victory markings and the names of the two pilots will make this Hellcat unique. Take care with the application of the delicate aftermarket decals. Seal the decals with a coat of clear semi-gloss.
The kit includes masks that are pre-cut to neatly fit the clear canopy pieces. The masks are easy to apply and the result is a clean, neat cockpit canopy. Add the assembled landing gear, the smaller bits, pitot, antenna and propeller. Attach the canopy and be sure to slide it back to show off all the cockpit detail.
Your European theater Hellcat is finally ready to display, an interesting addition to your Pacific Cats.