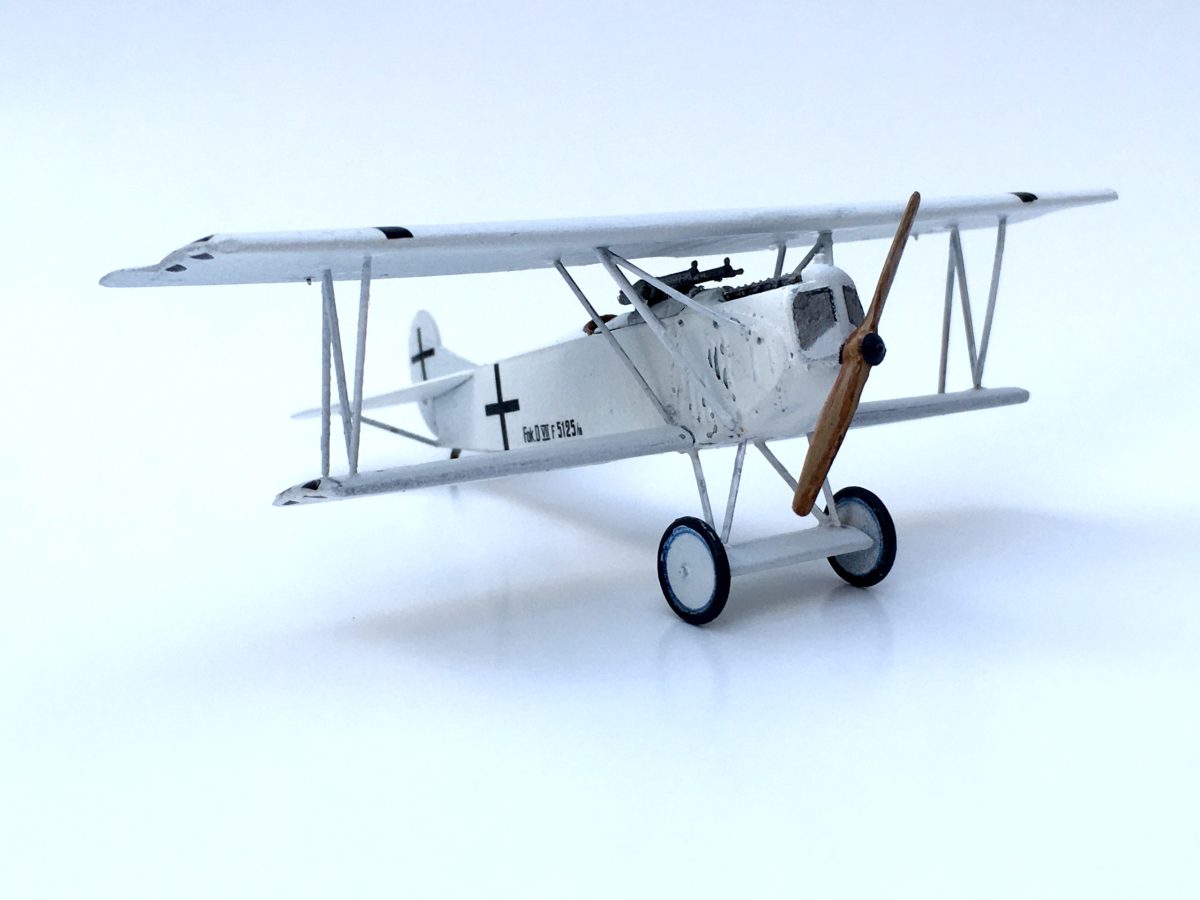
Before he commanded the Luftwaffe during WWII, Hermann Göring was a 22-victory WWI ace and the last commander of Jagdgeschwader I, Manfred von Richthofen’s crack “Flying Circus.” When Anthony Fokker heard that Göring had been promoted to lead JG.I, he supervised the construction of an all-white (Göring’s favorite color) D.VIIF, and personally flew it to his base.
Though Fokker D.VII kits are produced by most major manufacturers, some are clearly better than others. Two of the most accurate come from Roden and Eduard. Roden’s 1/72nd-scale kits feature markings for one or more of the outstanding pilots who flew this ubiquitous aircraft.
Start by painting the cockpit floor and the bulkhead behind the seat “wood,” then streaking the panels with dark brown to simulate grain. Use this same technique on the instrument panel, stick and prop. Once those pieces are dry, overspray them with Tamiya’s “clear orange,” so they look like varnished wood.
The cockpit side walls are the reverse side of the doped linen fuselage covering. Paint them “linen,” tinted with brown. The seat should be painted “leather” and touched in spots with dark tan, to highlight the new upholstery. Off-white seat belts should be draped over the seat.
Spray the Fokker’s BMW IIIa engine with titanium and dry-brush with black to show use. Paint the exhaust stacks “burnt iron” and set them aside. Pay close attention to all these open areas, as they can be seen in the finished model.
With the cockpit and engine complete, trap and glue the assemblies into the fuselage sides. Attach the machine gun decking in front of the cockpit and the radiator to the front of the fuselage. Dry-brush the radiator mesh with silver.
Fit the lower wing to the fuselage underside. Since this part fits poorly, considerable work is needed to get the wing to sit level. Paint the tires “anthracite gray” (RAL-7016) and set them aside to be attached later.
Next assemble and attach the landing gear (except for the tires) to the fuselage. You can also glue the empennage to the fuselage. These pieces had considerable “flash” on them, which I cleaned up with light sanding. The horizontal stabilizer required sanding and cutting to ensure a tight, level fit.

Stuff wet tissue into the cockpit and engine opening before painting overall with flat white (FS-37875.) Paint the machine guns gunmetal and attach them to the fuselage, along with the exhaust stack. Now paint the top wing, with the outer wing “N” and the inverted “V” struts. To break up the white, spray some heavily thinned Tamiya “smoke” over the ribs on the upper and lower wings and the tubular framing of the fuselage that shows through the linen covering. As some struts were misshapen, I replaced them with .035-inch plastic rod sanded to an airfoil shape. When the paint is dry, spray a coat of Glosscoat or Future floor wax over your model to provide a smooth surface for the decals.
This kit supplies all the markings for Göring’s D.VII. With the decaling complete, carefully attach the “N” struts to the outer wing and let them dry solid. Then attach the top wing using small blocks of balsa wood as a support jig. When this assembly is dry, attach the remaining struts. Finish your model by gluing the wheels and propeller into place, and it’s ready for display.
Read more about Herman Göring’s days as a crack WWI ace here!