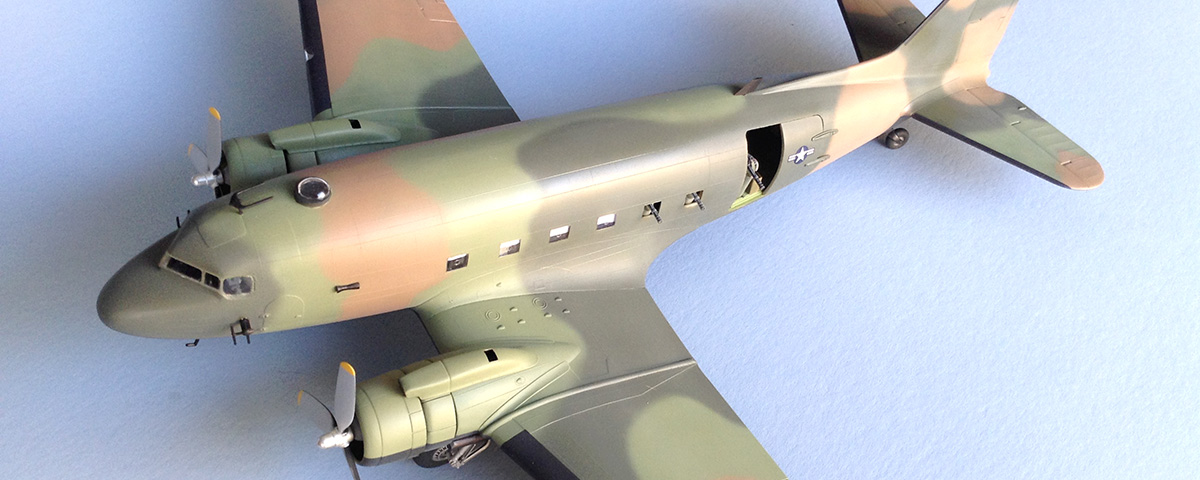
Revell of Germany is the only manufacturer to date that has released a 1/48th-scale kit of the Douglas AC-47D gunship used by the U.S. Air Force during the Vietnam War’s early days and featured in “Log of The Leper” (July 2017 Aviation History). This kit builds into a very large model that has a 24-inch wingspan and doesn’t fit on an average bookshelf.
The kit was first issued in 1978 and has some fit problems, which is not a concern until you get to the assembly of the wings and the fuselage building stages. Be prepared for considerable dry fitting, part adjustment and filling of seams.
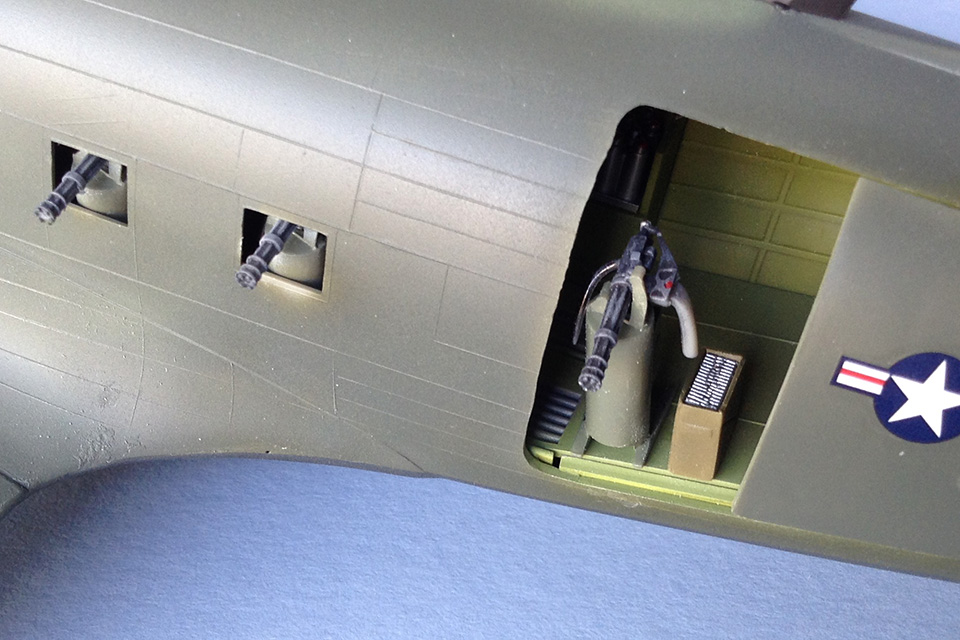
The interior of the cargo bay and cockpit is fully detailed with more than 40 parts. The cargo bay and flight deck are painted interior green, FS-34151. To break up the monotony of the single color, you can spray a lighter green, FS-34258, on some of the bulkheads and floors. The interior is complete with a radio room and latrine area. However, when the fuselage is closed these two compartments are completely hidden. Little can be seen of the interior except for the minigun that is mounted in the open cargo door.

The flight deck has a set of crew seats that are painted interior green and detailed with “leather” cushions. Lap belts are fashioned from thin strips of tape. There’s a decal for the instrument panel and a pair of half-moon yokes for controls. The pilot fired the three Gatling-type miniguns using a switch on his yoke, and aimed them using a modified gunsight from an A-1 Skyraider in his left cockpit window. That mount is painted flat black, FS-37038, with a clear green sighting disc.
A strip of clear windows is provided for the starboard side of the cargo bay. They are installed as per the instructions, but the port side glass must have the two aft windows cut away to accommodate the additional pair of Gatling guns. Be sure the guns and the windows are securely glued in place, as the barrels will protrude through the open windows and might break free due to handling while gluing the fuselage halves together.
Glue the horizontal stabilizers together and attach them to the fuselage. Attach the main wing spar to the center wing section and then attach it to the bottom of the assembled fuselage. The spar on my kit was warped and required considerable sanding, dry fitting and gluing. When the center section is solid, cement the top and bottom wing parts together and attach them to the fuselage center.
You’ll have several areas to fill and sand before the model is ready for priming. When all the seams are filled and sanded, insert the cockpit windscreen into place. You can save a lot of time in masking the cargo windows and cockpit clear parts by using precut tape masks from Eduard, set EX-481.
Carefully stuff some wet tissue into the large cargo door opening and then spray a coat of primer over the entire model. When dry, inspect your work and repair any flaws.
The undersides of AC-47 gunships were painted flat black. Topsides were camouflaged in an irregular pattern of dark tan, FS-30219; medium green, FS-34102; and dark green, FS-34079. The pattern is detailed on the back of the instruction sheet.
Finish your model by attaching the pair of Pratt & Whitney R-1830 radial engines to their cowlings and those assemblies to the wings. The gunship propellers were natural metal on the front and flat black on the rear. Our aircraft had few markings other than the national insignia. Complete the model by adding the landing gear and the third minigun to the open cargo bay door.

