
There’s a lot of model packed into Revell of Germany’s 1/72nd-scale kit of the Focke-Wulf Fw-200C-4. While its nearly $50 price tag might seem a bit pricey, the 220 pieces that make up the kit represent good value for the money.
This model features a full interior, with a cockpit and radio operator’s compart- ment that fit in the fuselage forward section. Revell calls for the walls and bulkheads to be painted light olive, a match for FS-34258. This may be an error, as it’s a departure from the generally accepted WWII German aircraft interior color, RLM-02, and will undoubtedly be controversial among purist modelers.
Interior construction continues with a gunner’s compartment aft of the bomb bay area. Hatches allow the crew quarters to be displayed. If you decide to detail the cockpit, paint the instrument panel anthracite gray, RAL-7016, and the seat frames dark olive, RLM-80, with dark tan cushions, ANA-617. Behind the cockpit, the radio faces should also be painted anthracite gray, and shelving on the starboard side of the compartment should be “wood,” with an overbrushing of clear orange.
Also paint the gunner position floors and bulkheads light olive, picking out details in RLM-80 for interest. A chart table in one of the compartments should be painted wood, with the gunners’ seats rendered in dark olive. I took seat belts for the crew members from an Eduard 1/72nd-scale Luftwaffe bomber set. Before cementing the fuselage parts together, remember to locate and glue the tail wheel strut in place.
Cement together the top and bottom portions of the horizontal stabilizers, and don’t forget the vertical tips on these control surfaces. Before attaching the wings, align the top sections of the port and starboard pieces to their respective fuselage parts. Apply glue to the inside of the wing at the fuselage joint. This alignment step should eliminate any glue seeping out of the joint and damaging the wing surface.
Once the top sections of the wing have dried, align and glue the bottom portions in place. Since the plastic in this area is very thin, be sure the engine nacelle pieces are carefully cemented into position. (The glue I used is Tamiya’s “extra thin,” which comes with an applicator brush. A thin line of this cement dries almost instantly, but should give you just enough time to nudge parts into position before it sets.)
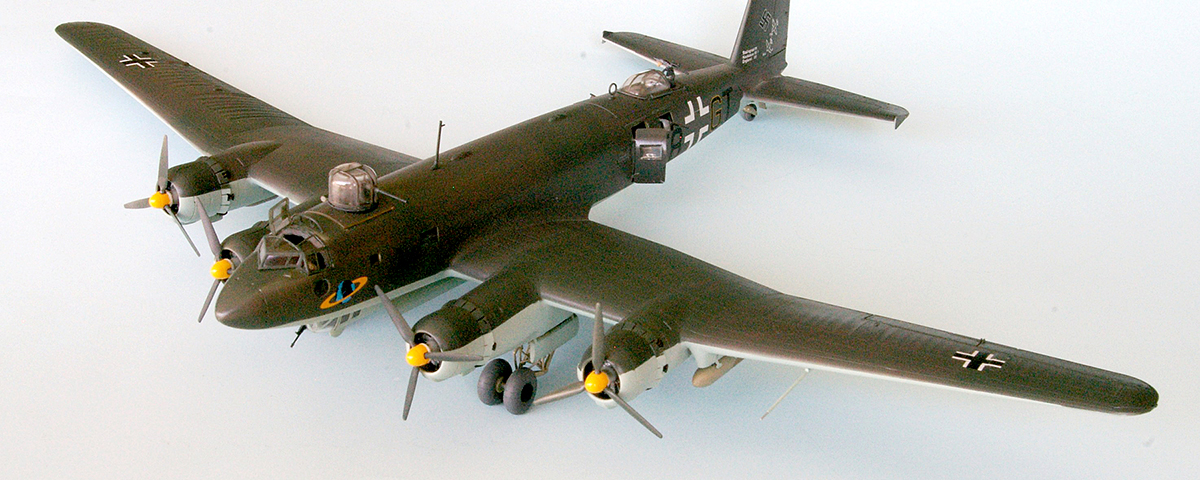
The four BMW-Bramo 323R-2 9-cylider radial engines are made up of six parts each. Paint the cylinder fronts steel, and then dry-brush them with black to bring out the detail. The exhaust pipes should be painted burnt iron before you slip them into the part containing the cowl flaps. Note that Revell provides a choice of open or closed flaps. The propellers are schwarzgrün (black-green), RLM-70, with yellow, RLM-04, spinners.
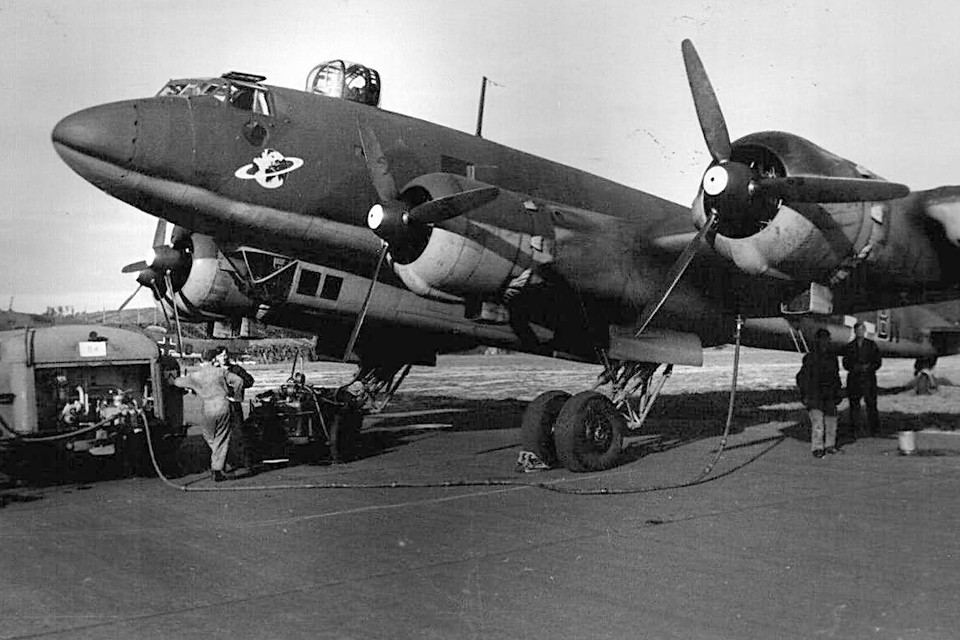
The Condor was originally designed as an airliner. When the airplane was converted to the maritime reconnaissance role, a gondola was fitted below the fuselage to house a bomb bay and defensive gun positions. The windows and gun positions of this three-part assembly, which is molded in clear plastic, must be masked before painting. Paint the bomb bay light olive, and then load two bombs into place. Paint all the machine guns gunmetal, with wood grips.
Check over all seams and apply putty where necessary, sanding them smooth. Paint the Condor’s underside light blue, RLM-65, with topside splinter camouflage of RLM-72 and RLM-73. Note that markings are provided for two KG.40 Condors; I selected decals for an aircraft flying from Avord, France, in the summer of 1944.
Read more about the Focke-Wulf Condor in Duel in the Clouds from the January 2013 issue of Aviation History. Subscribe here!